Pages

Showing posts with label buttons. Show all posts

Friday, 4 October 2013

Quick Make - Folk Art Toilet Sign

I started out with a hunk of floorboard I found in the bin and some buttons (natch).


I painted the wood in Farrow and Ball, sanded it back when it was dry and highlighted the edges by 'dry brushing' some gold paint across the woodgrain.


I decoupaged the male and female symbols with decorators PVA and glued the button dividing line in place.


Tada!

I am posting this on the Handmade Monday Linky Party - pop over and see what other people are making this week.

Wednesday, 27 February 2013

Charm Bracelets at the The Buttoneer Party


I’ve been to a few craft workshops in my time, but I’d never been invited to a craft party .. until recently. The hostess was the button loving queen Dolores, who simply wanted to share her buttons around and invited a few girlfriends over to get crafty with cake.

The venue was laid out like a regular party but instead of bags of crisps and bowls of jelly we each had a plate to craft upon with beads, buttons, ribbon and a blank charm bracelet.


We were invited to browse a selection of crafty visual ideas on our hostesses’ laptop and then encouraged to dive into craft books and magazines as an appetiser.

There were bowls and jars full of buttons and ribbons along with a serving tray of jewellery findings. A selection of jewellery pliers and cutters were to hand like cutlery, along with a side trolley of glue guns and wire.

We each piled a plate with pick 'n' mix goodies and set about making our button creations. Everybody helped one other out suggesting styles and button/bead combinations. Wire wrapping and bending skills were shared, finished creations modelled and photographed for Instagraming instancy.


Fruity brooch by Bee
Button brooch and charm bracelet by Bee
And of course we ate the real goodies, cupcakes and lollipops made by our hostess, savoury nibbles and drinks prepared by the chef.


Homespun lollies
All the guests proved extremely productive, I made two button charm bracelets and a brooch. We each left with a party bag of edible goodies for later on!


Bee and Dolores
I declared it the inaugural meeting of the Buttoneers, and if Dolores does indeed open her Button Shop at Red Doors in E6 anytime soon, then she has an eager clientele ready to stock up on goods.

Wood Button Charm by Jeanie B
Fruity button charm by Jeanie B

Sunday, 16 December 2012

Quick and Easy Quilted Latte Jacket Tutorial - Handmade Christmas


Whilst a major coffee chain may be avoiding paying taxes in this country, why not craft your own Latte experience by making these sweet little Latte Jackets as Christmas presents?

There are some wonderful seasonal fabrics out there and these jackets take very little yardage - I managed to get 6 jackets sewn together out of 4 contrasting FQs, some wadding and a handful of buttons so it's all quite economical. I bought this fabric from the wonderful Ray Stitch in Angel, a great fabric shopping experience - take a friend and enjoy their wonderful food and coffee served as the fabric is cut and wrapped (beautifully) for you.
I bought the glasses from my local Wilko at £1.75 each but it could be worth scouring the charity shops for similar kinds.

First make a paper pattern from your glass, this can be fiddly - also not all latte glasses are created equal, I made an earlier prototype for a glass that was slightly bigger with the handle more central. It's all trial and error ... so Make It Up.


Use a basic quilting technique of sandwiching wadding between a backing fabric and contrasting top fabric using the paper pattern as your guide. You don't need to worry about adding a seam allowance as the raw edges on the jacket will be finished with 'tape' cut from fabric - or bias binding if you prefer.


I transfered a simple sunburst design onto the top fabric with tailor's chalk as a guide for my quilting - you can of course use a freehand technique which would be great on patterned fabrics following the design - see my phone case tutorial here for inspiration.


I followed the chalk design on my fabric sandwich, this holds the jacket pieces together. 


I cut a length  of contrasting fabric 1 inch wide for edging. I could have cut the fabric on the bias in order to make own bias binding - this makes edging curves a little easier, but the jacket design isn't that intricate and straight tape worked fine.


Sew the tape to the edges of the jacket, right sides together on the top piece - in four strips, don't try and edge the whole quilt with one strip turning corners, it's easier to do it in stages. Fold the edging over to the back side of the quilted jacket and hand sew in place with invisible stitches. Tuck the corners in neatly as you go to finish off.


Choose a couple of buttons and make an elastic loop with some round cord elastic. I simply hooked the elastic loop round the buttons to keep the jacket on the glass.


Now fill the glass with Christmas goodies and parcel up with packet of good coffee for the caffeine addict in your life - or hot chocolate for the younger less wired members of your family!


Thursday, 27 September 2012

Pop-Up Sale in Pictures

I had a ball at The Homemaker Pop-Up Sale at Red Door Studios in East Ham earlier this month - it was my first venture into organising such an event and my time was divided between -

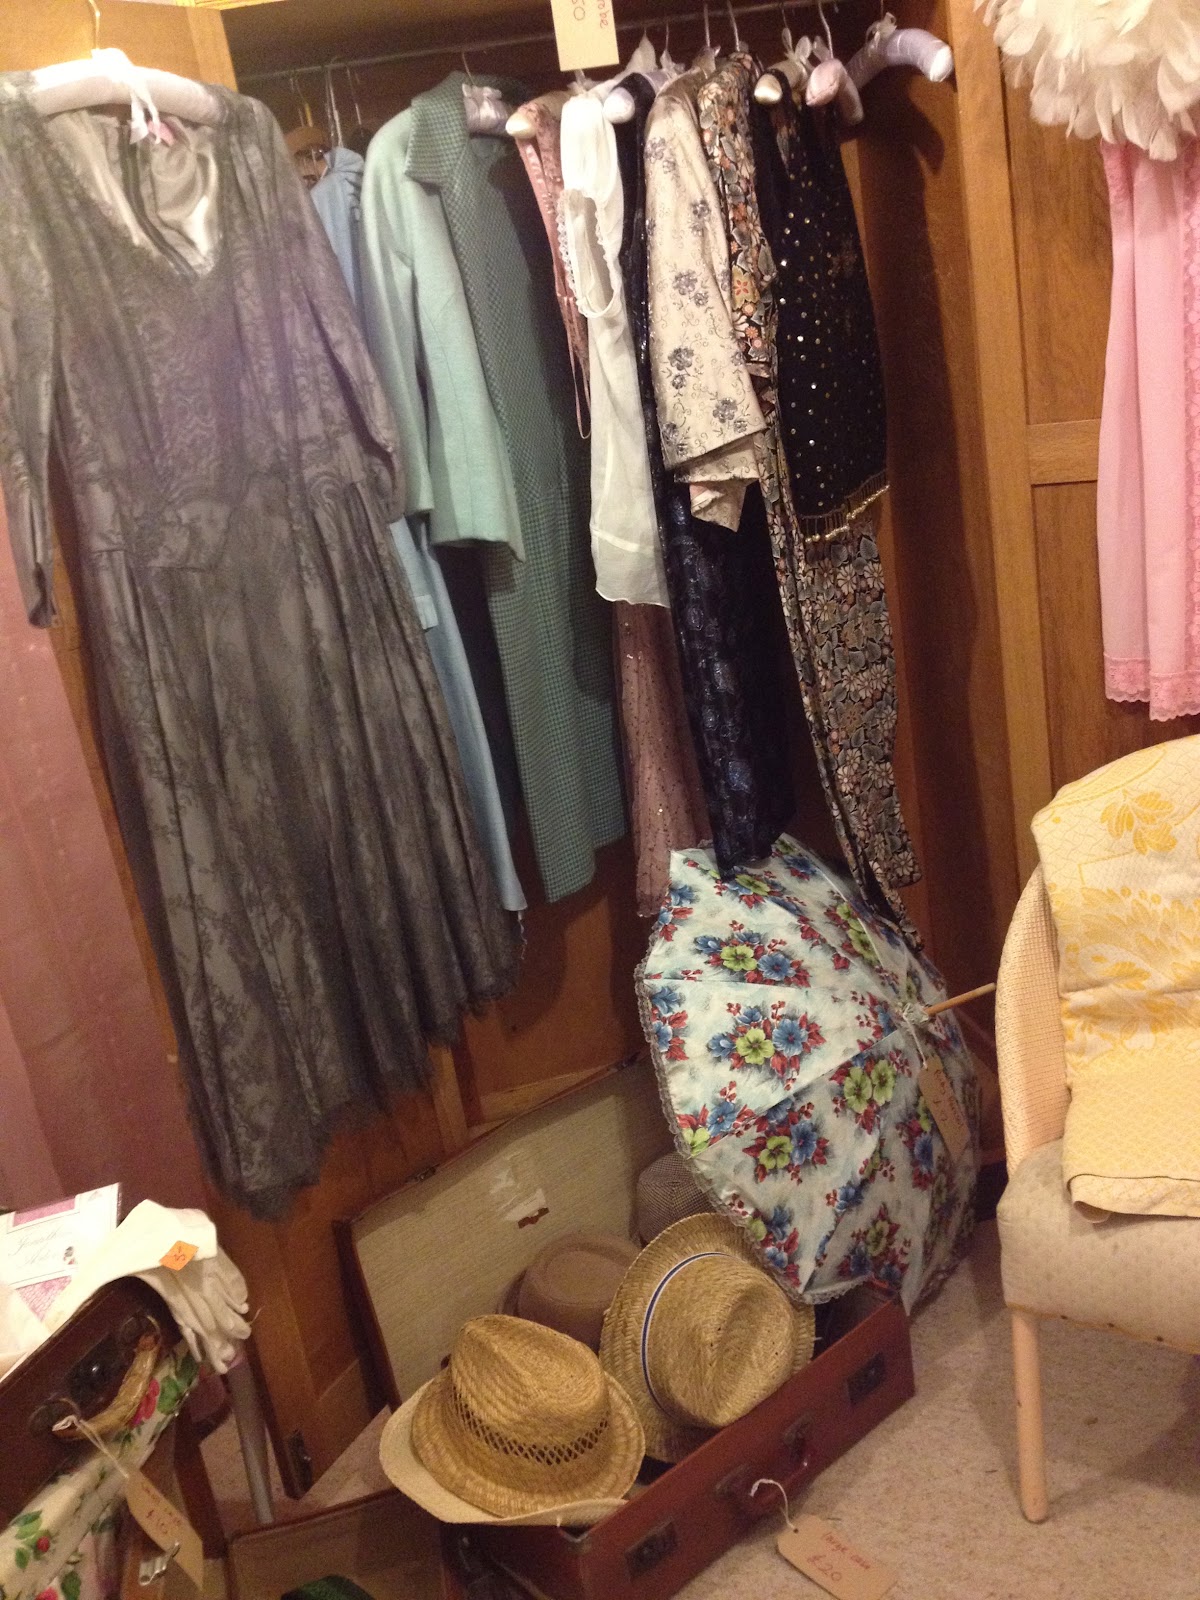
preparing scenery, sorting stock, moving furniture, pricing items that came in...


... Tweeting, labelling and tagging clothes and collectibles ...


... moving more furniture, preparing posters, dressing the sales rooms, late night stock taking ...


... more furniture moving, more Tweets, coping with nerves ...


... manning the til, taking money, wrapping purchases, eating cake, dancing and merrymaking with the wonderful customers who found us over the two days were trading!


It was a baptism of fire and I thoroughly enjoyed the process from pre-planning to sweeping up the last stray button. Thank you all the East Ham locals who attended and a big thank you to those who came from further afield to help put Red Door and East Ham firmly on the 'places to go in East London' map.

Our Homemaker event was boosted by the collaboration of Candy Pout the fantastic Vintage Styling Make-over team who set up shop in the hairdressers adjacent to the Studios. They provided a steady stream of retro duckling to swan transformations as ladies returned to the sale with fabulous up-dos and vintage make-up.


Adam Pasty Guy cooked up a mouthwatering array of cakes and pastries, complete with Red Door cupcake cases.


We had guest singers The Hudson Belles who introduced our Sunday Salon Bookchat hosted by Matthew Crampton author of The Trebor Story. He was in conversation with two of the original 'sugar girls' who worked in the local Tate & Lyle factory in the 50's and 60's.


All in all it was such a great weekend that we have decided to open the Homemake Sale for a one off spree of pre-Xmas shopping on the 3rd and 4th of November! Anything that didn't go in the original sale will be there to buy and we will re-stock too from local sources.


If you fancy a trip to the East Edge, we'll see you there! 
Red Door Studios, Masterman Road, East Ham E6 3RW


Photography were indicated was by the wonderful Mr Phil Russell, you can contact him here.
Related Posts Plugin for WordPress, Blogger...