
It's a phone sleeping bag with a button and elastic loop fastening.


Having just invested in a shiny new phone, I was equally excited at the prospect of making a cover for it. This is quick tutorial in keeping with the blog title ethic ... just Make It Up as you go along and put some good tunes on the turntable.
1. Fetch some wadding and two contrasting fabrics, enough to wrap around your phone once - there will only be one seam down the back. Essentially you will be constructing a quilted tube.

2. Cut the fabrics to size (centre a motif on the outside fabric if you like) and make a wadding sandwich. I free embroidered the cactus motif - this will become the front of the case.


3. Trim the outside fabric and wadding from the top edge of the quilted oblong sandwich leaving the backing fabric longer. This is then turned over and used to seal the top edge of the case. Hand stitch in place.

4. Fold the oblong in half right sides together - you're about to sew the back seam. But first grab a length of elastic (about 12cm) and stitch the loop firmly in place to the right of your intended seam line.

5. Fold the the oblong in half again and sew this back seam, making sure it's a snug fit for your phone.

6. Now you have a tube with the elastic loop in place, trim away the excess seam fabric on the loop side. Trim the other side of the seam enough to fold under and cover the loop. This will lie flat like a french seam inside the phone cover and look very neat. Hand sew this neatened seam in place.


7. The last thing to do still with right sides together, is sew the bottom seam making sure the quilted motif and loop are centred.

8. Now turn the case right side out. Voila!


**INTERLUDE**
Grab a coffee and a well earned treat whilst you congratulate yourself on following my improvised instructions thus far.
 |
| (Cup cake made by my daughter, mug decorated by her also) |
8. Finally dig about in your button stash for a suitable button. I chose an 'almost sombrero' early plastic hat. Sew the button into place - I opted for the brown one.

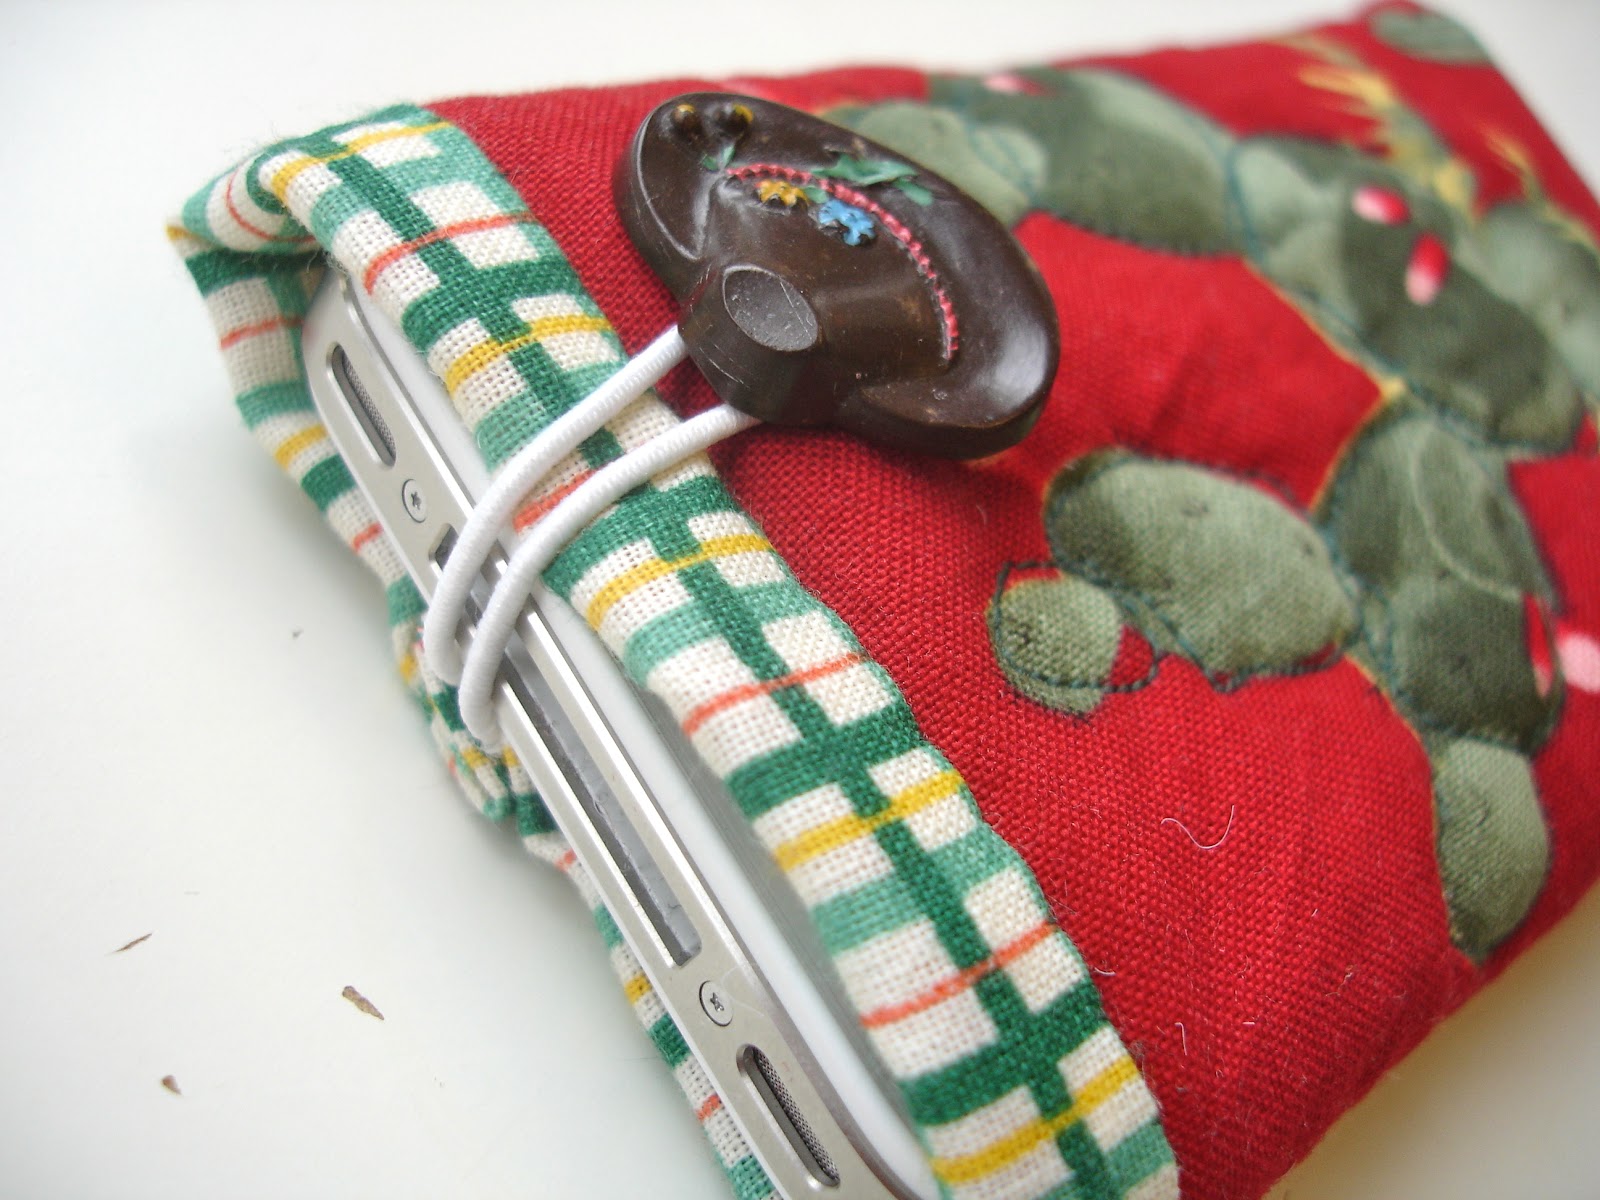
You're done!
4 comments:
I like this. Simple, useful and pretty. My three main goals in almost every sewing project! Well done!
Very, very cute Abi! Your phone looks just like mine!
I really liked your blog, Jeanie! I loved the phone case, the 1930's overalls...everything!
I live in Rio de Janeiro (Brasil) and sorry for my English mistakes, ok?
http://www.elisartes-artesanato.blogspot.com.br
hey. thanks for sharing such interesting ideas. they are awesome..love them
Phone Cover
Post a Comment